Setting Up DPS Integration in POSLink / PumpLink
Note: DPS needs to be activated within Synergy back office before it can be used within the POS system. Call 09 583 2455 and speak to sales to discuss options and pricing for DPS integration.
DPS Software needs to be installed first before the setup in Synergy can take place. This should be done under the instruction of DPS or your Eftpos services provider.
Setting Up DPS Integration in POSLink / PumpLink
Go into the POS software > Setup > Configure Lane > tick “Do you have integrated EFTPOS?”

Then click on the EFTPOS Integration button. Select DPS Payment Express from the list. Click on the green tick button.
For the DPS to take effect, exit to windows then log back into POS


The DPS logon button will now be available. This will allow you to do a manual logon to DPS.

This should not be necessary to do all the time as it automatically logs on when the computer is started. It may be needed when there is an Internet/power outage. This will be advised by DPS at the time of occurrence.
Payment Type Setup
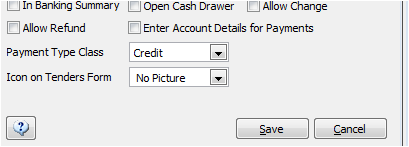
This needs to be setup in Company Setup > Accounts Receivable > Payment Types. When setting up the payment type, there is a section for Payment Type Class. This needs to be selected as Eftpos or Credit for it to go through to the DPS Machine
Processing a DPS transaction.
Complete the transaction as normal. When getting to the payment screen, select Eftpos or any Credit Card that has been set up with the correct payment type.
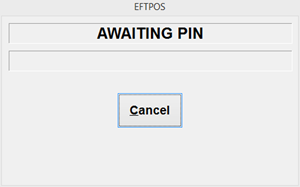
Once the tender screen has been completed, the following screens will appear to track the progress of the transaction.


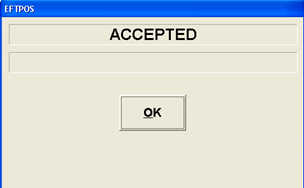

The last screen is from Synergy. The DPS machine automatically prints a merchant receipt. This screen comes up so that the operator can print a customer receipt if they wish.
If the wrong account is selected, you will get an error, and you will be taken back to the main sales screen.
If the card is declined due to incorrect pin, it will print a declined docket and takes you back to the previous sale screen.
Acceptance with Signature (Credit Card)
This will bring up slightly different screens than above.
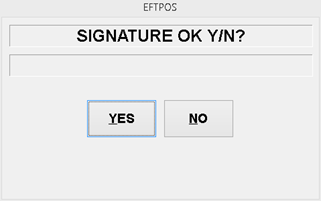
As soon as the “Signature reqd” box appears, a receipt with a signature line is printed. The “Signature OK Y/N?” box then appears, awaiting user input.
If the signature is accepted (Yes), the next box appears and two receipts print out.

Any transactions that are declined return to the sale window for the transaction to be finalized again or cancelled.

If the signature is declined, then you will get a print out of the merchant receipt stating that the signature was declined.